

"It scans and cleans very thoroughly compared with other cleaners. I now only use AppCleaner!" — Christoph V.
Clean your Windows computer with this Freeware.
Getting Started with AppCleaner
This comprehensive guide will walk you through the installation and initial use of AppCleaner, enabling you to efficiently identify and remove obsolete data, temporary files, and unnecessary system clutter for enhanced privacy and optimal performance.
Quick Setup Overview
AppCleaner setup is streamlined and requires minimal configuration. Complete these three straightforward steps to begin optimizing your system storage and privacy.
Estimated Time: 3-5 minutes
Download and Install
Begin by downloading the AppCleaner installation package from our secure download page.
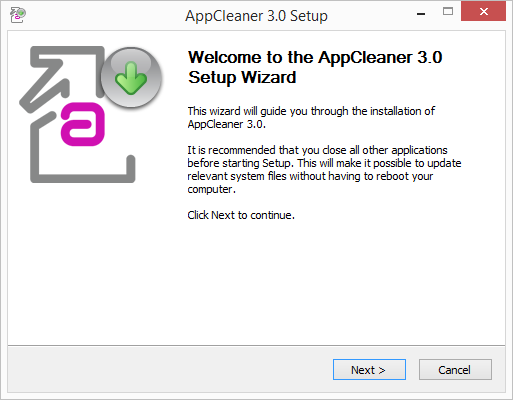
Installation Steps
- Download the installation file from the download page
- Run the installer and follow the setup wizard prompts
- Accept the license agreement and choose your installation preferences
- Complete the installation process
- Launch AppCleaner by double-clicking the desktop icon or selecting from the Start menu
All installation files are digitally signed and undergo rigorous security testing to ensure your system's safety.
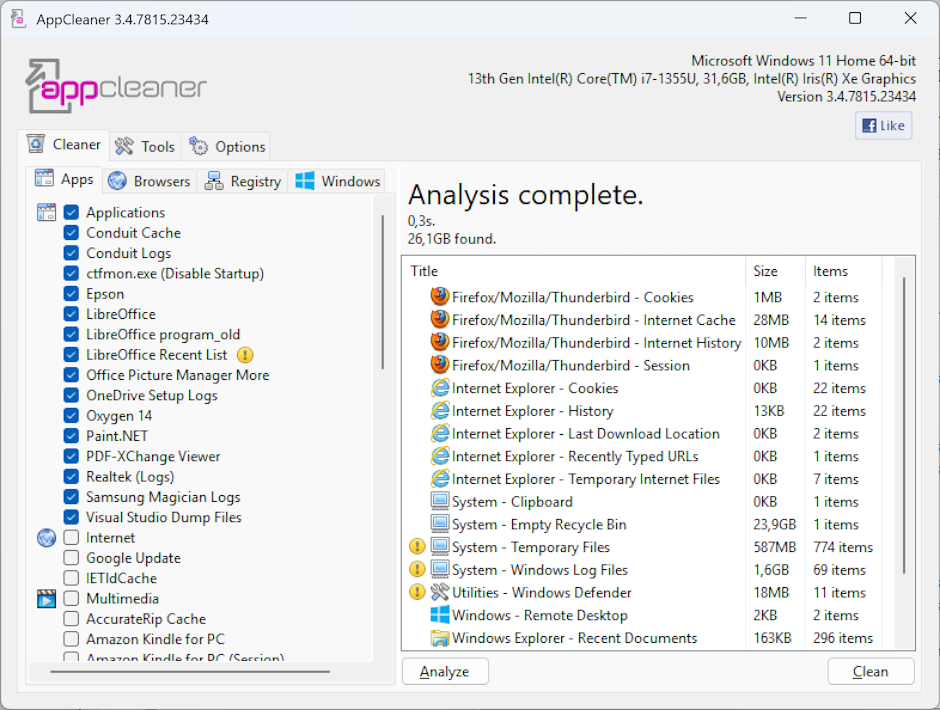
Analyze Your System
Initiate your first comprehensive system scan by clicking the "Analyze" button in the application interface. The initial analysis typically completes within 1-3 minutes, depending on your system's size and configuration.

After Analysis Completes
The analysis results display all identified obsolete data, temporary files, and system clutter. You have several options:
- Default Settings: Use the recommended settings for automatic cleanup of standard categories
- Custom Configuration: Review and adjust settings to match your specific privacy and storage requirements
- Detailed Review: Examine each category to understand what will be removed before proceeding
- Selective Cleanup: Choose specific categories while excluding others based on your preferences
Execute Cleanup Process
Once you've reviewed the analysis results and configured your preferences, click the "Clean" button to initiate the cleanup process. The duration varies based on the volume of data identified for removal.
Cleanup Process Details
- Real-time Progress: Monitor the cleanup process with live progress indicators
- Safe Removal: Only obsolete and temporary files are removed — essential system files remain protected
- Detailed Report: View comprehensive results showing reclaimed storage space and cleaned categories
- Statistics Tracking: AppCleaner maintains records of total space recovered across all cleaning sessions
Cleanup Complete!
Your system has been optimized. For best results, schedule regular cleanups to maintain optimal performance and privacy protection.
Recommended Maintenance Schedule
Regular system cleaning prevents accumulation of obsolete data and maintains optimal performance:
- Daily Users: Weekly cleanups recommended
- Moderate Users: Bi-weekly or monthly cleanups
- Light Users: Monthly cleanups sufficient
- Power Users: Configure automatic scheduled cleaning for hands-free maintenance
Quick Tips
- Review analysis results before cleaning
- Use default settings for optimal results
- Schedule regular cleanups for maintenance
- Close applications during cleaning for best performance
Estimated Time
- Installation: 1-2 minutes
- First Analysis: 1-3 minutes
- Cleanup Process: 1-5 minutes
- Total Setup: 3-5 minutes
What Gets Cleaned
- Temporary internet files
- Browser cache and cookies
- Windows temporary files
- Download history
- Recycle Bin contents
- System log files
- Obsolete system data
Key Benefits
- Reclaim valuable storage space
- Enhanced privacy protection
- Improved system performance
- Safe and secure cleanup
- User-friendly interface
Need Help?
Our dedicated support team is available to assist with installation, configuration, or any technical questions.
Contact Support